Git is a very useful tool for keeping track of different versions of files as you make changes to them. In this post, I will talk about how I prefer to install Git in Windows, and how Git is integrated with PuTTY, my SSH-client.
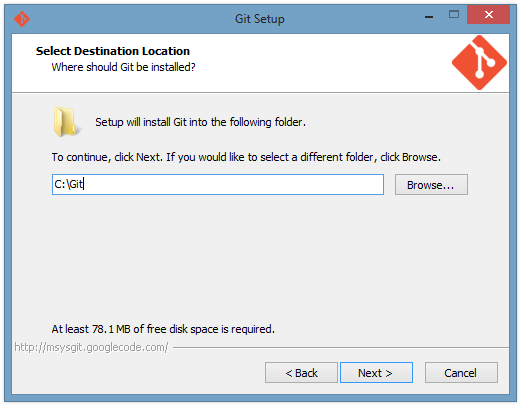
First of all, I like to install git in C:\git instead of in "Program Files" so that the path has no spaces. Git comes with lots of Unix utilities such as diff and grep. Lots of Unix utilities were developed in an environment where it was highly unusual for a path to have spaces in it. As a result, when these utilities are ported to Windows, some of them have trouble when they encounter spaces in a path. I am not saying that the utilities included with Git necessarily have this problem, but maybe some other Unix utilities on your computer will get screwed up by the presence of the Git Unix utilities on the path. This is not just an academic concern: it actually happened to me and caused problems for our customers. See this bug report I filed to the GNU make maintainers. On the other hand, you should install Git in the default location if you plan on redistributing any Unix utilities to your customers; it's better that you should be the first person to experience the bugs in those utilities, rather than your customers.
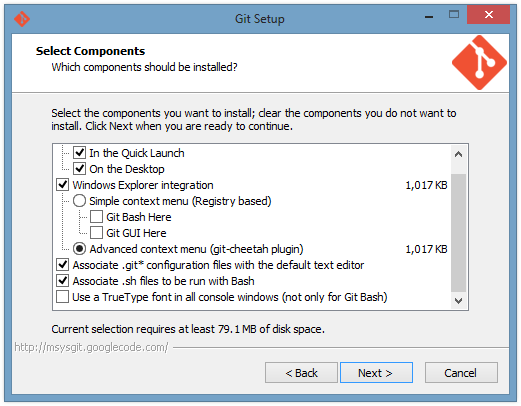
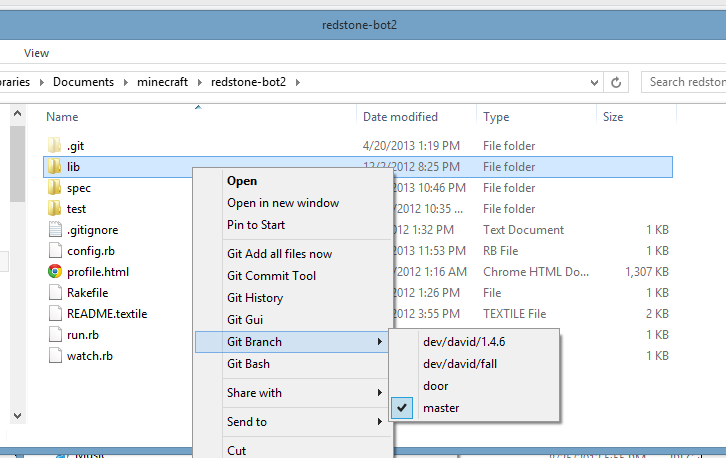
I mostly just installed the default components of git, except that I chose the fancy git-cheetah plugin instead of the simple menus. This means that when I right-click on a folder or file in Windows, I will see some git commands available in the menu, and there will be different commands depending on whether I am in a git repository or not.

Git gives you three options for how it will adjust your PATH environment variable. The PATH is a list of directories that contain executables you might want to run from a command line. I chose the third option, which is the most invasive, because I occasionally need to use the plain old Command Prompt (instead of Git Bash), and when I do that I want to have access to useful utilities like grep and GNU find. I have not tested this option for very long though, so if you want to be careful you should pick the middle option. (Just because the middle option mentions cygwin it doesn't mean you have to use cygwin.)
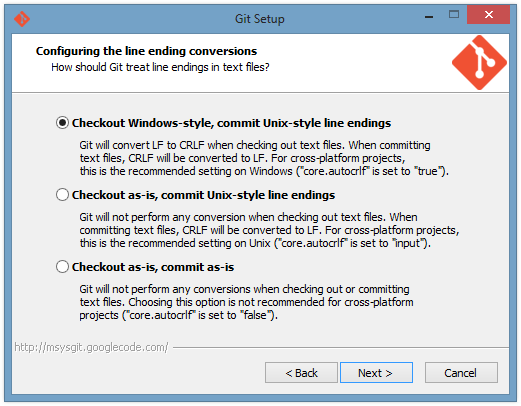
I think the options on the line-ending conversion setup screen above are pretty self-explanatory. You just need to understand that there is this long history of Windows applications using two bytes (0x0D, 0x0A) to indicate a new line in ASCII text, while Unix applications use just one byte (0x0A). I always chose the first option and it has not caused me any problems.
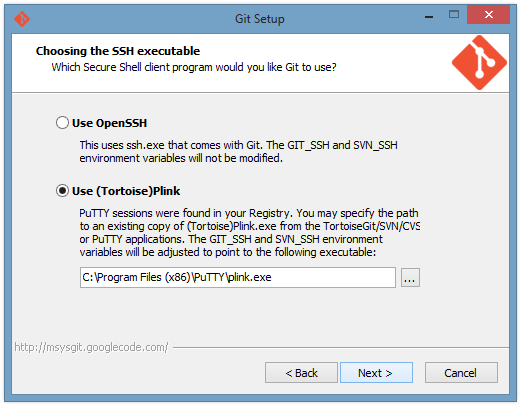
Git can establish secure connections to remote git repositories using SSH. The git client thankfully does not implement all the details of SSH key management and profile configuration; instead it lets you choose another program to do that work. The default option is to use the version of OpenSSH (ssh.exe) that comes with Git. I choose the other option, which is to use PLink. I will talk more about this below.
After installing Git, you should configure what editor you want to use for commit messages. I usually specify commit messages on the command line with the -m option, but sometimes I just need to use an editor. For example, if you want to write a very long commit message or you want to amend a commit without changing the message, the editor is pretty useful. I like Notepad++, so I just run the following command to configure git to use Notepad++. The -alwaysOnTop option is used so that I do not get too distracted in the middle of writing my commit message!
git config --global core.editor "'C:/Program Files (x86)/Notepad++/notepad++.exe' -multiInst -notabbar -nosession -noPlugin -alwaysOnTop"
Exploring Git Gui
If you are going to spend a lot of time with git, I recommend using Git Bash and being familiar with the command-line options for Git. It will help in the long run. However, you might also find it useful to use the included GUI. Here is the context menu you get when you right-click on a file or folder in a git repository, thanks to the git-cheetah plugin:
The only difference between the Git Commit Tool and the Git Gui is that the commit tool closes after you make a commit, and it has a lot fewer features because it just for making commits. Besides the context menu, you can also access either tool from the command line by typing git gui or git citool. This is what the Git Gui looks like:
![[picture]](http://www.davidegrayson.com/for_blog/entry/20130420_git_win8/git-gui.png)
Here is what the Git History screen looks like. I did some editing so you can see three of the right-click context menus that are available on this screen:
![[picture]](http://www.davidegrayson.com/for_blog/entry/20130420_git_win8/git-history.png)
Git Gui versus TortoiseGit
There are many options for GUIs to use with git. I have used TortoiseGit (and Tortoise SVN before that) for many years. TortoiseGit does have a very nice interface for showing the history of your git repository, but I find that interface to be buggy and slow at times. If you change one of the checkboxes at the bottom while the window is open, is it not uncommon for that operation to take 5-15 seconds. When that operation is done, it is not uncommon for the lines drawn between the commits to be incorrect.
TortoiseGit does have a nice shell extension for Windows that puts icon overlays on your files to indicate which ones have changed in git. However, I cannot trust those icons anymore because they have too often been incorrect in my experience. For example, I will see that some folder has a red icon indicating that it has changed, but then I run "git diff" and see that in fact nothing has changed. On top of that, I have occasionally experienced even weirder problems in Windows Explorer that I suspect might be the fault of TortoiseGit.
TortoiseGit and Git Gui have a different approach to UI design. In TortoiseGit, the center of your experience will be a really long sub-menu of right-click context menu. It contains about 25 different operations you might want to perform. Actually, I move the most-common operations up one level in the menu structure so I don't have to go into that large menu too often. With Git Gui, the center of your experience will be the Git Gui window.
I have barely used Git Gui at all, but my impression is that it is faster and less buggy than TortoiseGit. Once I get used to it, I think my productivity will increase.
Side note: One downside of Git Gui is that the people who named it used the incorrect capitalization of the acronym GUI. When you write a blog post about Git Gui you might look dumb no matter which capitalization you choose to use.
How Git works with PuTTY
I find it interesting to explore how git uses PuTTY to take care of your SSH connections. Also, you might need this information some day if you are debugging your git SSH connection. Here is the block diagram of what happens when you type "git fetch":
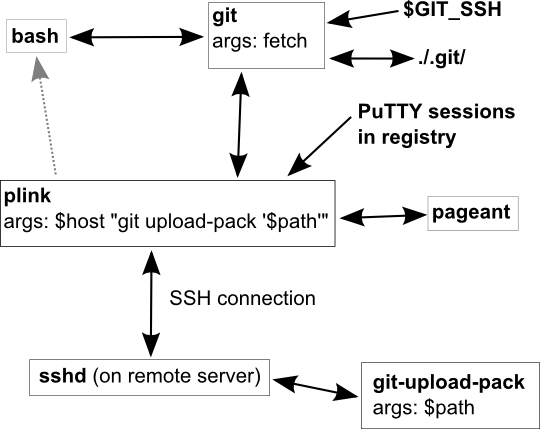
The boxes represent executable processes that are running during the fetch operation, and the arrows represent the flow of information. When you type git fetch in bash or some other shell, your shell will spawn a new git process and let you see the characters it outputs on the standard output. The git process will check the $GIT_SSH environment variable, which tells it which SSH client to use. In my case, I want $GIT_SSH to be "C:\Program Files (x86)\PuTTY\plink.exe" so that git uses the plink.exe which comes with PuTTY. Git spawns a new plink process with two arguments. The first argument is the remote host name or PuTTY session name. The second argument is a command to run on the remote machine. Git will take over the standard input and standard output of the plink process, but the error output from plink is usefully redirected to your shell. After plink establishes a connection to the remote machine, the SSH daemon (sshd) on the remote machine will run that command. (Actually, it might run it indirectly through a shell like bash.) The command will be something like "git-upload-pack '/path/to/repo'". This starts a new git process on the remote machine and tells it the path of the repository to look at. At this point there is a git process running on your machine and one running on the remote machine. They coordinate in some smart way and figure out what data needs to be fetched to your machine.
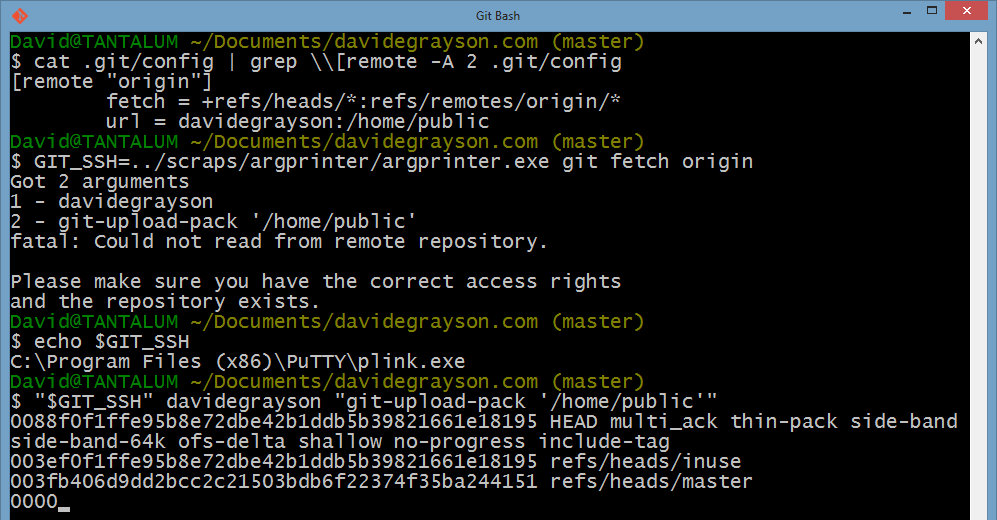
Here is a fun shell session that I used to figure out this stuff. The name "davidegrayson" is the name of a PuTTY session that establishes an SSH connection to my web server. The directory '/home/public/' holds a git repo for my website. In the last command, you can see a little sampling of the protocol that the two git processes use to talk to eachother.
 This was kind of a random post but I hope you will find it useful! At least I will find it useful the next time I am installing Git in Windows!
This comment has been removed by a blog administrator.
ReplyDelete